Installation and configuration of a TrueNAS CORE Server
Step-by-step guide
System requirements
- You need a 64-bit system that is used exclusively for TrueNAS CORE. (TrueNAS is not dual-boot capable!)
- From 8 GB RAM - more memory is required for plugins or virtual machines.
- The boot drive (SSD or HDD, USB sticks are unsuitable) should have at least 16 GB storage capacity. 32 GB offers enough reserves for updates.
- A single drive (SSD or HDD) is sufficient for storage. However, it is advisable to integrate several storage media with the same capacity so that the data can be stored redundantly. Note: You should not use hard drives with SMR (Shingled Magnetic Recording) technology for ZFS.
- You must have an Ethernet port to connect your system to the network. TrueNAS does not support wireless connections.
- You will need a blank DVD or a USB stick (larger than 1GB) as installation medium.
- A monitor and keyboard are required for setup.
Preparatory steps for installing TrueNAS CORE
- Set the boot mode in the BIOS to UEFI.
- Create a bootable USB stick with the current version of TrueNAS CORE.
- Tools for creating a boot stick:
https://etcher.balena.io/
https://rufus.ie/ - A current ISO file of TrueNAS CORE can be found here:
https://www.truenas.com/download-truenas-core/
Start installation
Boot into the TrueNAS CORE setup
1. to do this, press the F11 key to access the boot menu when starting the PC (please refer to your mainboard manual for different key assignments) and select the USB stick. The installation will now start automatically.
2. The Console Setup now appears. Select Install/Upgrade

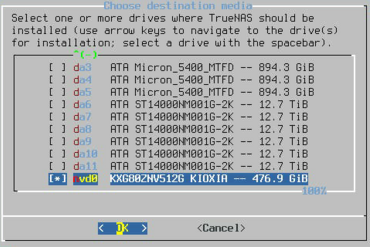
3. Now select the target drive for the OS using the space bar. If there is more than one medium for the OS, you can select both with the space bar. The system then automatically creates a software mirror of the selected media.
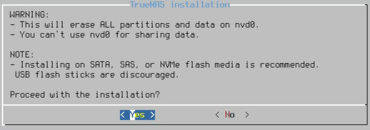
4. You will be informed that all data on the data carrier will be deleted during formatting. Select "Yes" to continue.
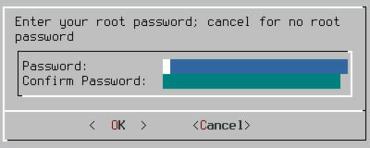
5. You will now be asked to enter a root password. Repeat the entry (Confirm Password) and continue with Enter.
6. Now select the boot mode: Confirm "Boot via UEFI" with Enter.

7. In the following screen, TrueNAS asks for the 16 GB swap partition. Confirm "Create Swap" and continue with Enter.

8. TrueNAS CORE will now install itself on your system. To restart the system, go to the Console Setup again and select "Reboot System". Please do not remove the USB stick until the server restarts.

Initial configuration
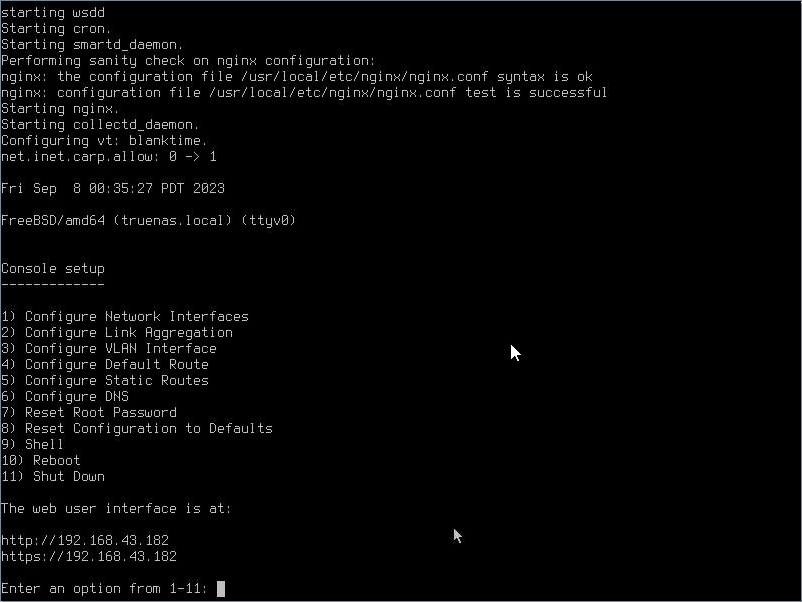
The TrueNAS CORE operating system should now boot and look like this. Remember that you should have plugged in a network cable by now at the latest so that your system receives an IP address. See below: "The Web user interface is at"
You can now log in to the TrueNAS Web GUI via browser using the IP address specified there. (However, you must be in the same network for this to work).
Open TrueNAS GUI
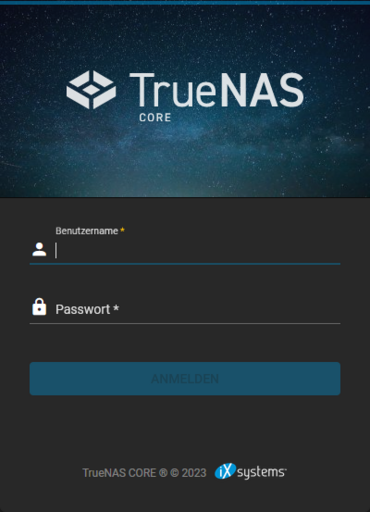
After entering the IP address in the browser line, you will be given access to the GUI.
There you must enter the login data (user name root and password) that you assigned in the previous installation (step 5 above).
Language and time zone
As soon as you log in to the TrueNAS GUI, you can set the language and time zone under "System > General".
Add user
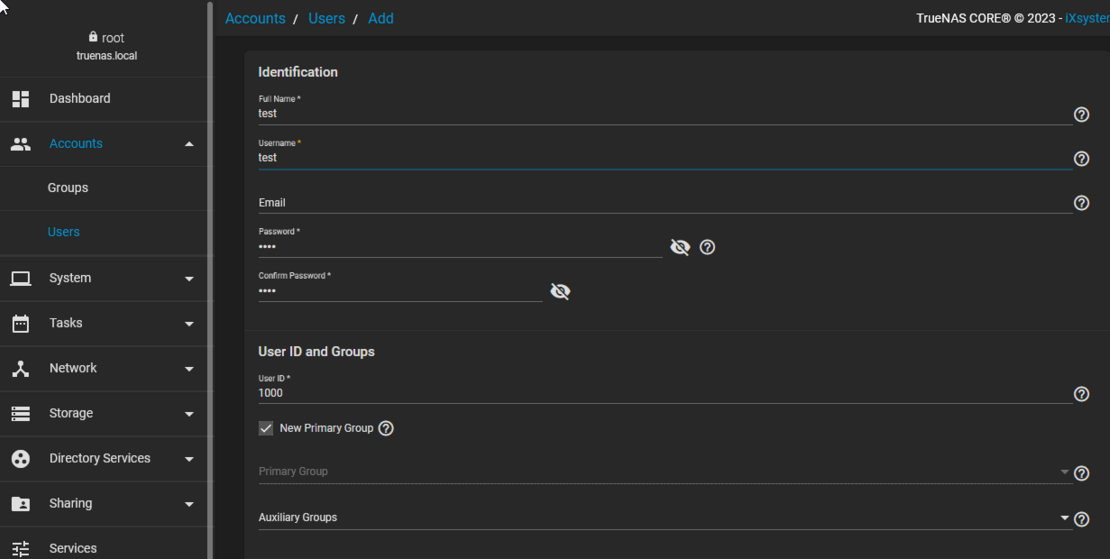
Add a new user under "Accounts > Users > Add". The full name and user name must be entered. You need the user name for the login (SMB). Also set a password.
The "Primary Group" box remains ticked. TrueNAS automatically creates a group with the name of the user. The username and password here are therefore: Test / Test
Create pool
Go to "Storage > Pools > ADD":
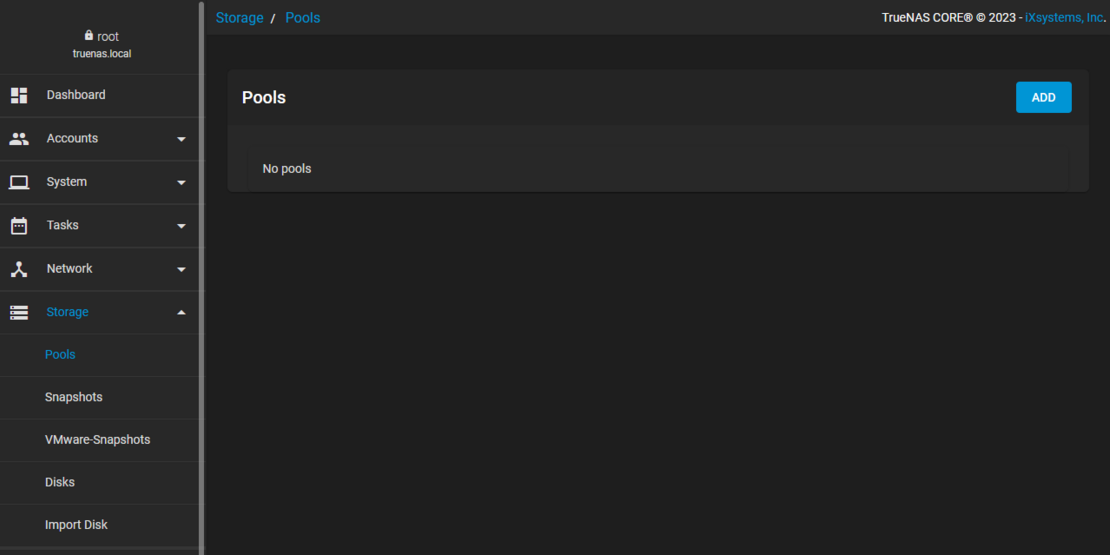
1. define a pool name ( Pool0 )
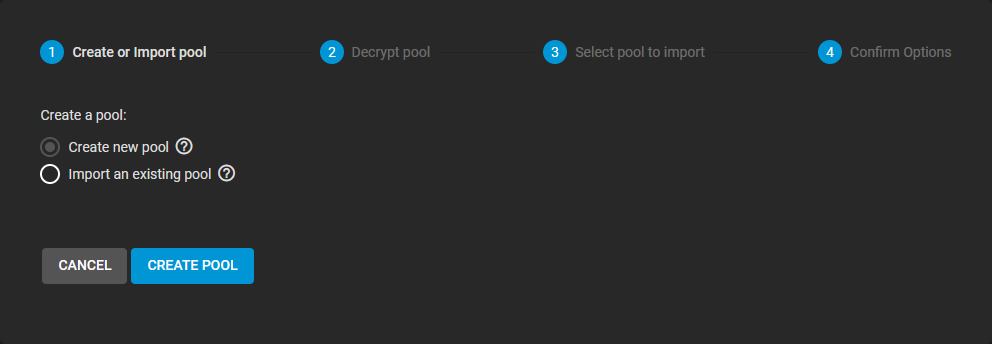
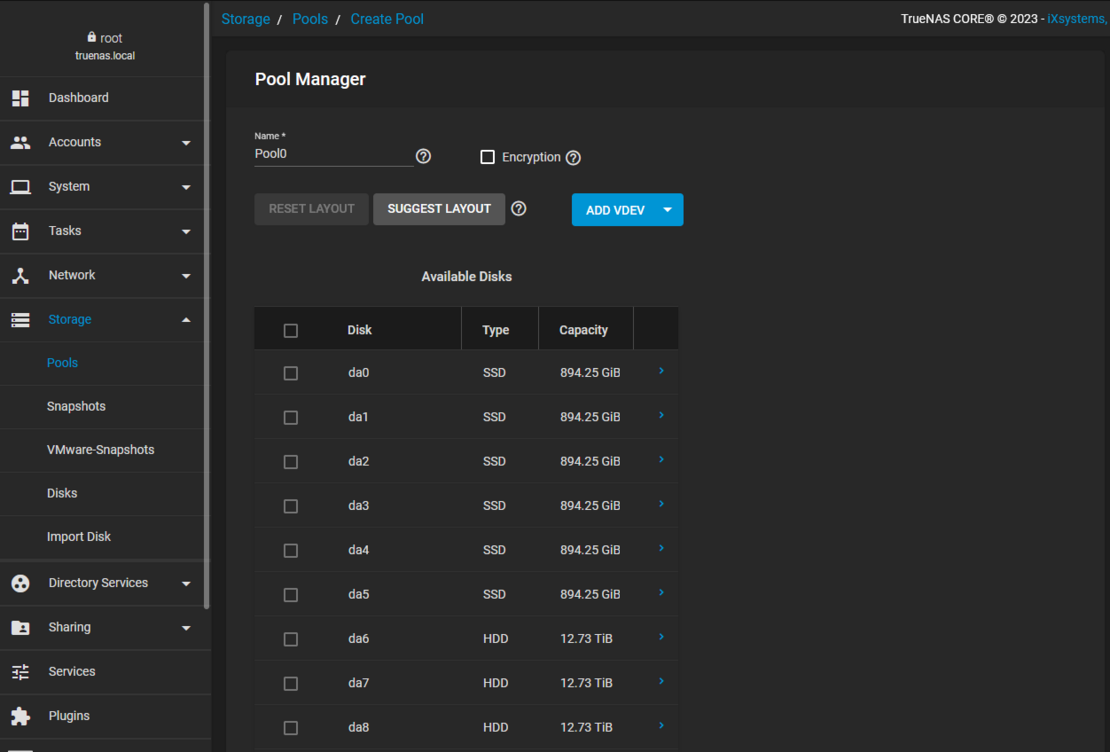
2. Select the hard drives to be included in the pool.
3. Add them to Data VDevs.
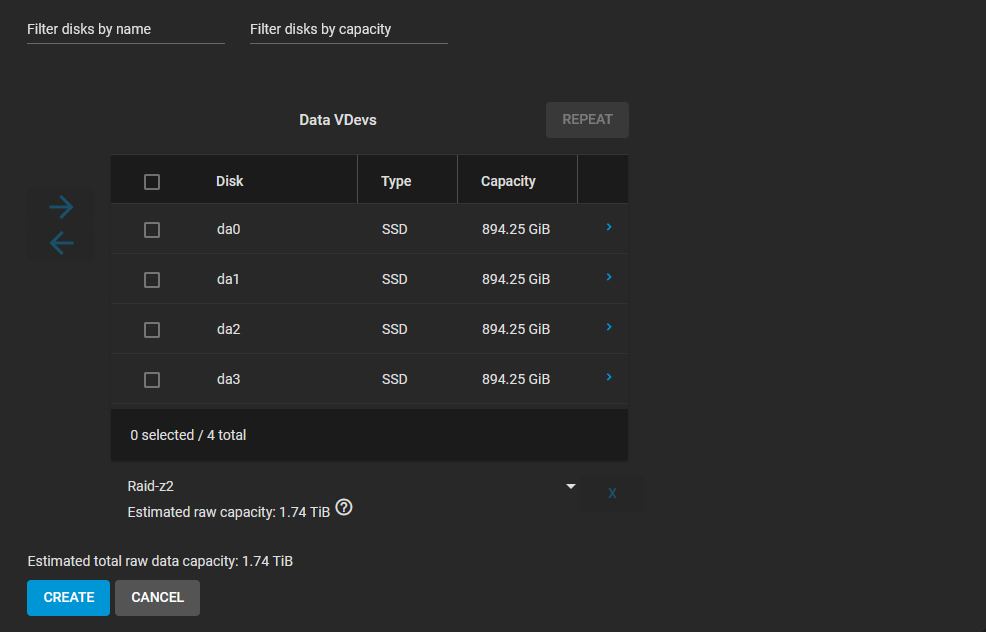
4. Select the software RAID level and confirm by clicking on "Create".
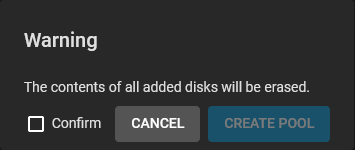
You will now be asked once again whether you want to create the pool. Tick the "Confirm" box and confirm the creation with "Create Pool".
Create share
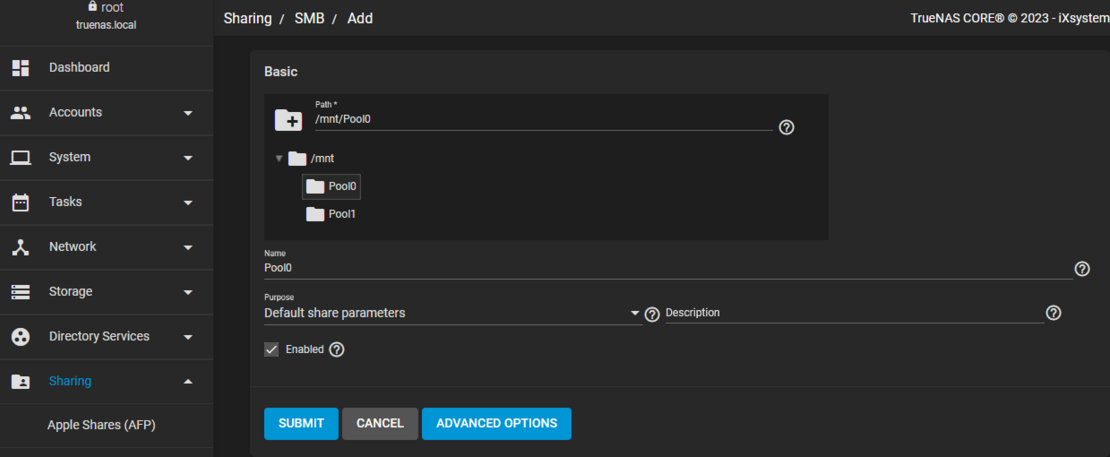
Under "Sharing > Windows (SMB) Shares > Add", specify the path of the pool on which the share is to be created. You also assign the name for the respective share there. Confirm the process with "Save".
TrueNAS then asks whether the SMB service should be activated. Confirm here as well.
Configure Access Control List (ACL)
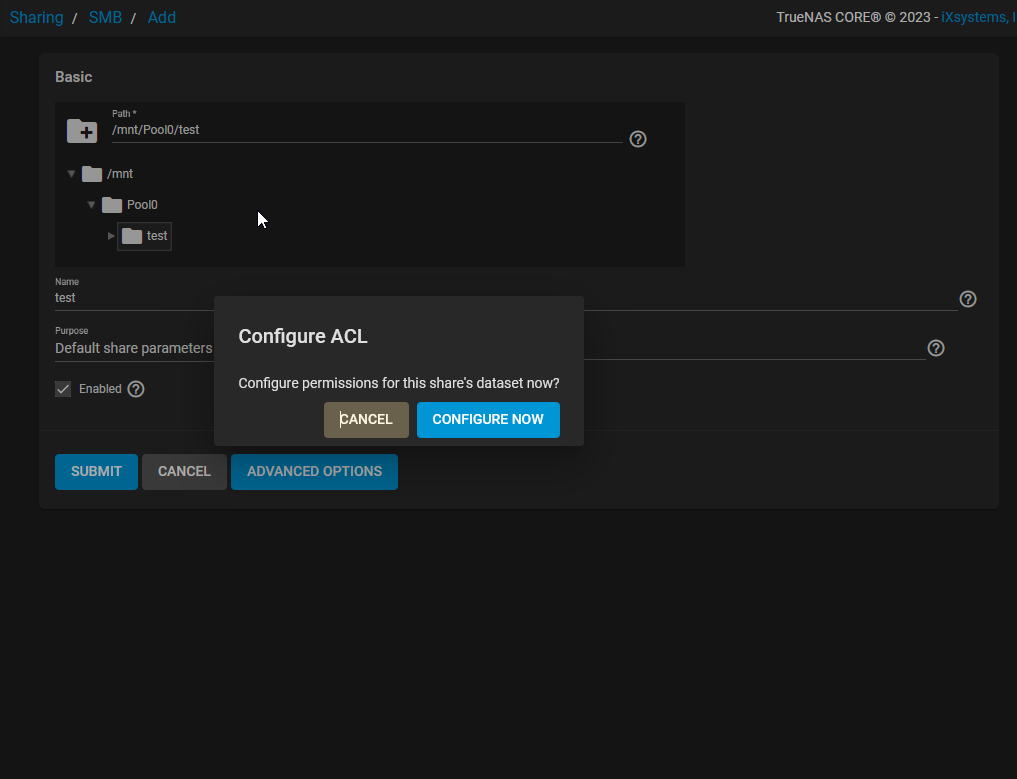
After you have created the SMB share, a window opens in which you must configure the ACL (Create ACL--> Configure NOW)
Select preset ACL --> OPEN
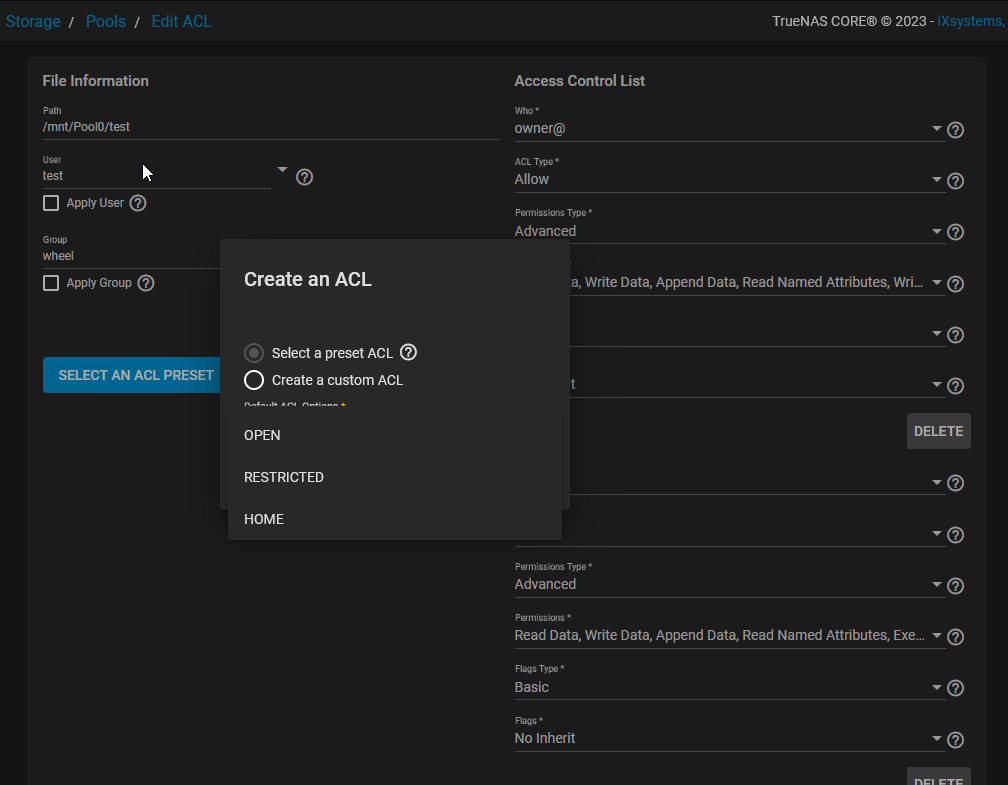
In the ACL settings, assign the created dataset as PATH. Use your created entries (here: test) as User and Group.
Finally, tick the Apply box and confirm with SAVE.

Configuring network interfaces
Add network interfaces under "Network > Interfaces > Add".
1. select your corresponding network interface card (NIC). Please note that the first NIC that has/should receive its address from the DHCP server must always be configured first. Otherwise, no connection to the GUI would be possible until a NIC has been configured from the console.
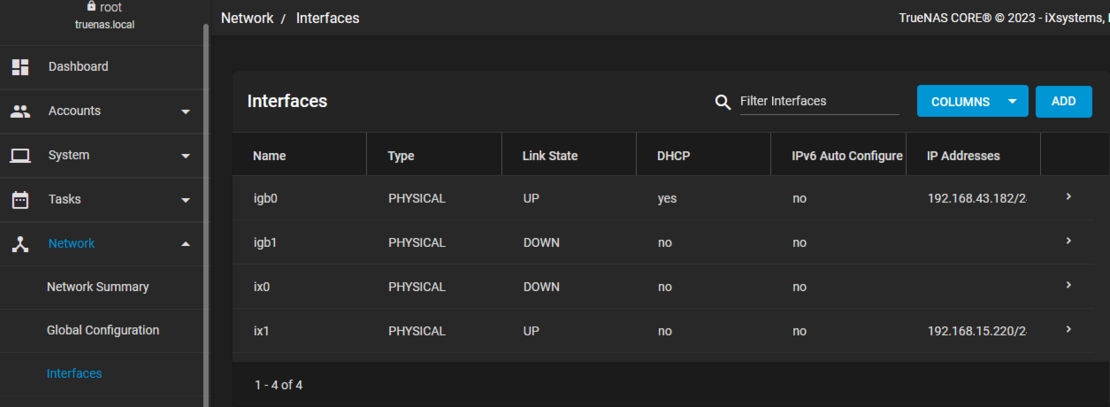
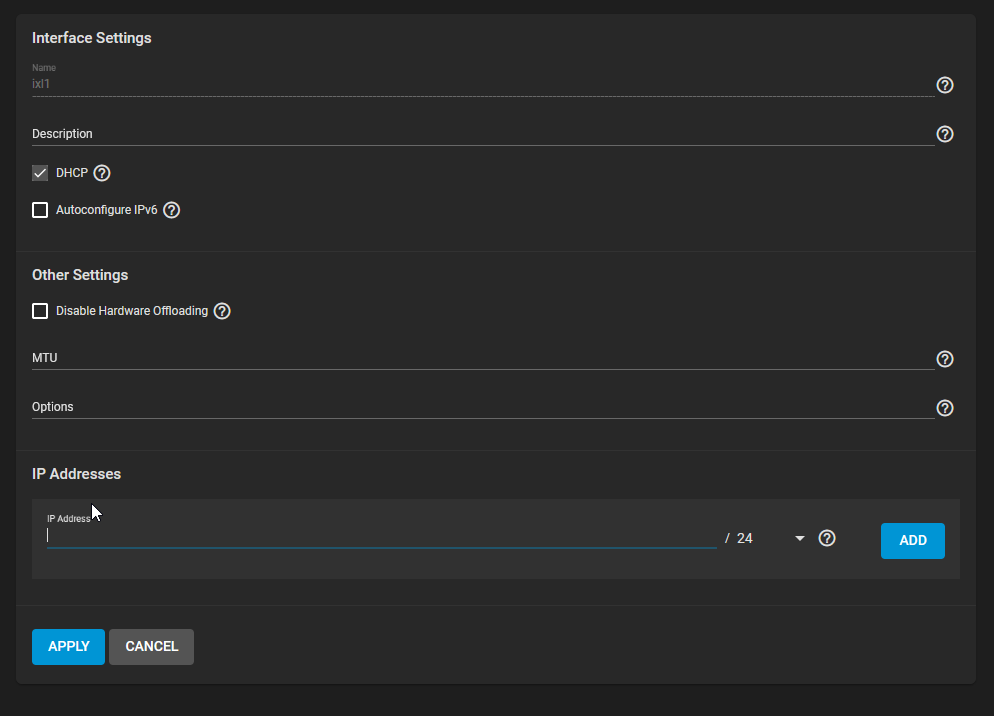
2. now select Configure IX1.
3. now assign a static IP address if required, e.g. (192.168.0.220) and deactivate the DHCP checkbox. Save the setting with "APPLY".
4. if the interface is online, it is labelled as UP under LINK STATE.
Access to the share
To be able to access the created share, you must add it as a network drive under Windows and log in with the username/password of the created user.
However, you must first assign the same IP to the interface of the test server or the built-in test card. You will find this setting under Network/Adapter properties IP4.
